Shut Off Valve Replacement Services Overview
Visitors can learn about Shut Off Valve Replacement services and compare local contractors who handle the work in their area.
- - Residential homeowners seeking reliable shut off valve replacement services to ensure proper water flow control.
- - Commercial property managers needing prompt assistance with shut off valve repairs or replacements to minimize downtime.
- - Property owners looking to compare local contractors specializing in shut off valve installation and maintenance.
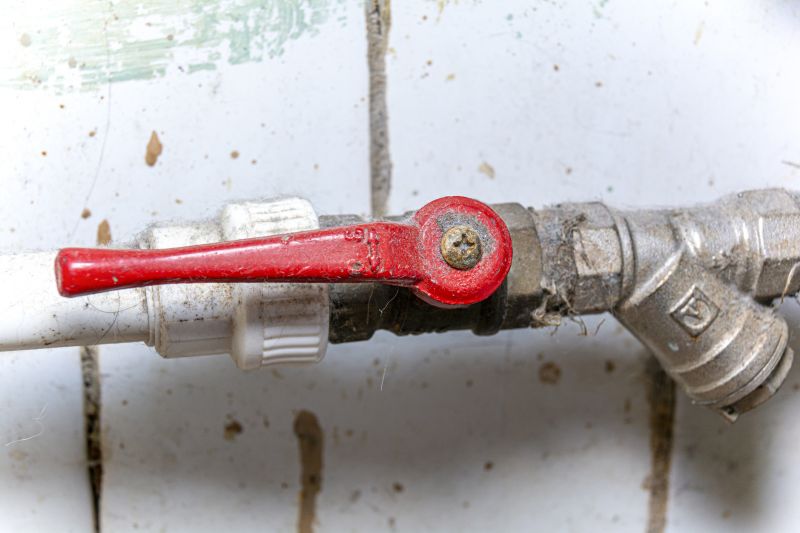
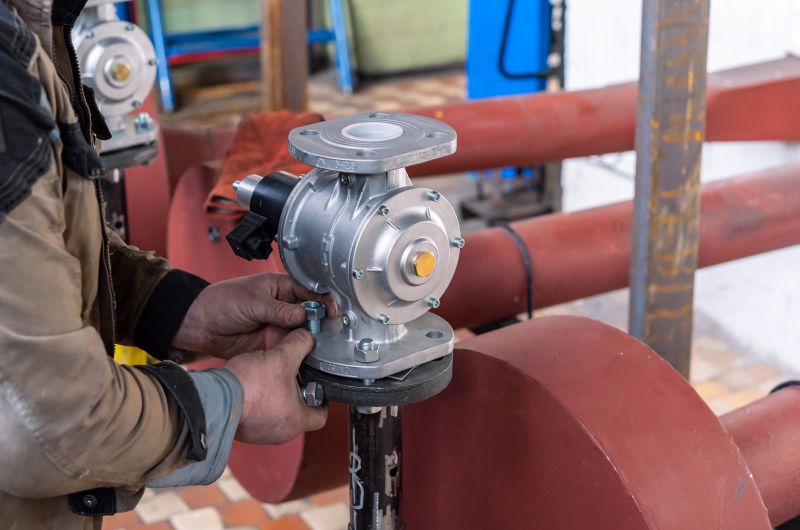
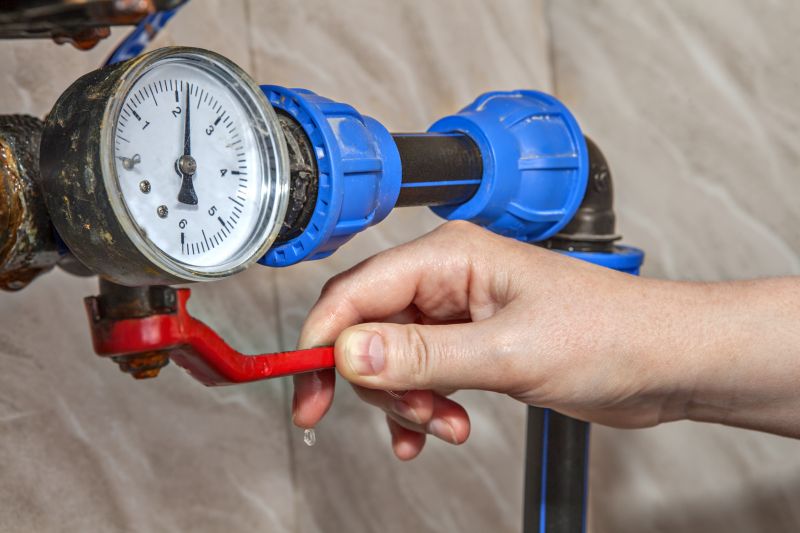
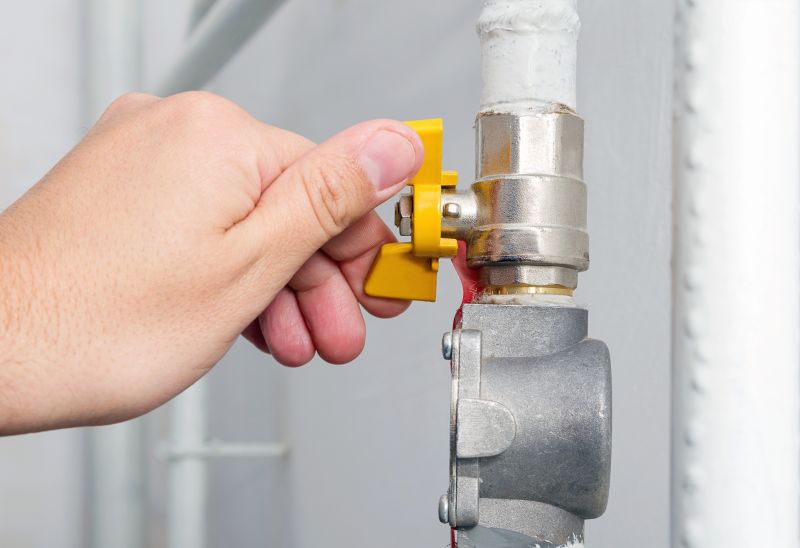
Shut off valve replacement services are essential for maintaining control over a property’s water supply, especially in cases of leaks, corrosion, or aging fixtures. Property owners seeking this work typically look for experienced local contractors who can safely remove and replace faulty valves to prevent water damage and ensure proper system operation. These professionals handle a variety of situations, from routine upgrades to emergency repairs, offering practical solutions tailored to each property’s needs.
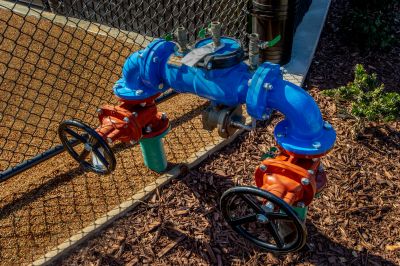
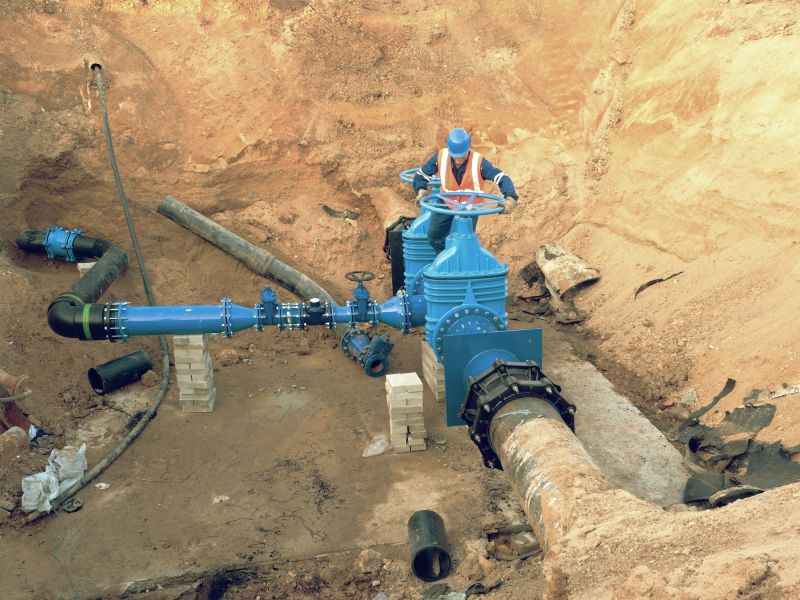
Local service providers specializing in shut off valve replacement are equipped to assess existing plumbing setups and recommend appropriate replacements. They perform installations that meet standard plumbing practices, helping property owners avoid future issues associated with worn or malfunctioning valves. Connecting with trusted local pros allows for a straightforward approach to managing water control systems, ensuring the work is completed efficiently and effectively.
This guide provides helpful information to understand the process of shut off valve replacement and what to consider before hiring a service provider. It assists in comparing local contractors and understanding the basics of the work involved. The goal is to help homeowners make informed decisions and connect with qualified local service providers.